How to attach castors to your furniture
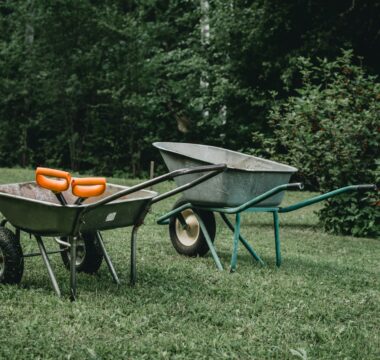
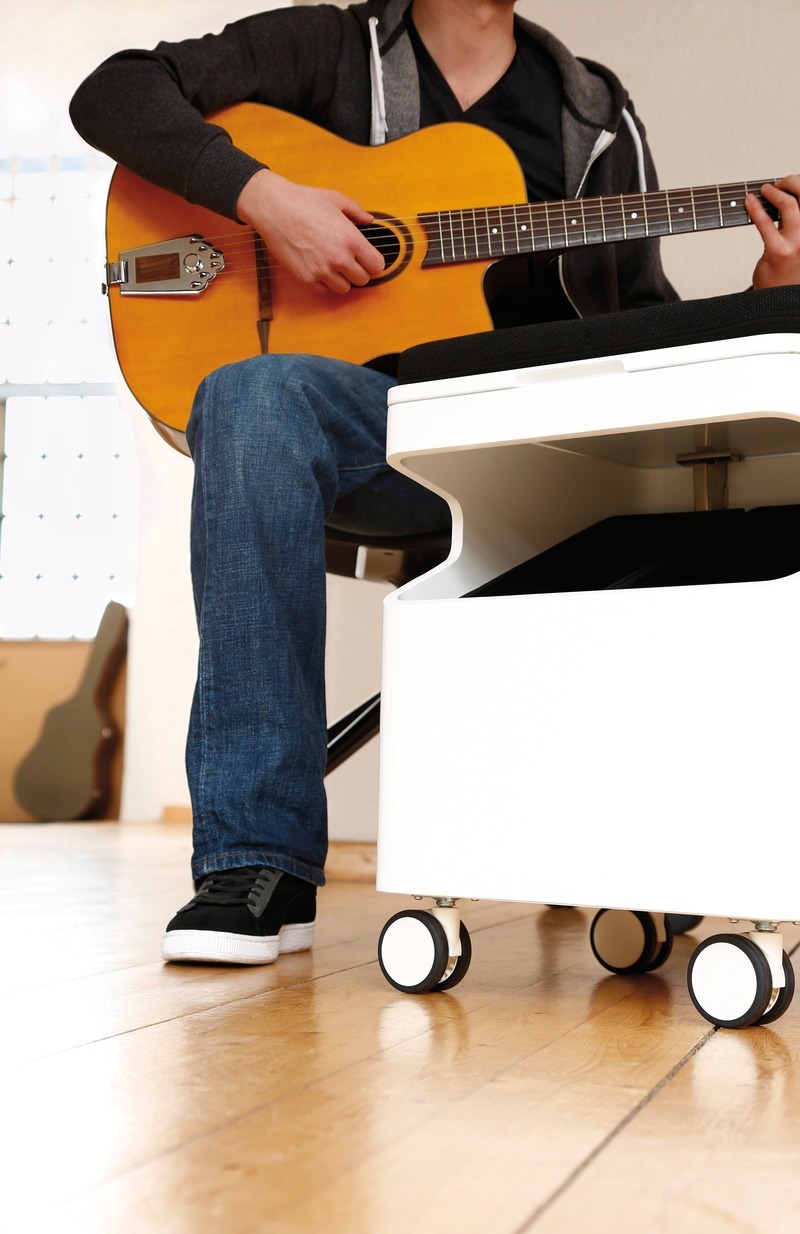
Castors are useful contraptions – they make office chairs swivel, shopping trolleys roll, and they also assist heavy industry. In offices, workshops, bakeries and warehouses, castor wheels make movement happen.
This manoeuvrability means attaching castors to furniture is a popular way to upgrade all kinds of items. If you’re wondering how to fit castors to make items more functional, our simple guide outlines the key steps.
Things to consider before attaching
There are several types of castors and dozens of ways they can be used. Each can affect how they need to be fitted, so there are several things to consider before you add castors.
It is important to think about:
– load capacity
– number of castors
– wheel size
– fixing method
These factors help determine the type of wheel you’ll need, since some models have a maximum load capacity of 30kg, while others can handle 1000kg. As a rule, it is a good idea to add the unladen unit weight to the maximum load, then multiplying it by three to calculate the load capacity you’ll need.
The most suitable procedure to install castor wheels depends on how many items you wish to install and the desired level of manoeuvrability.
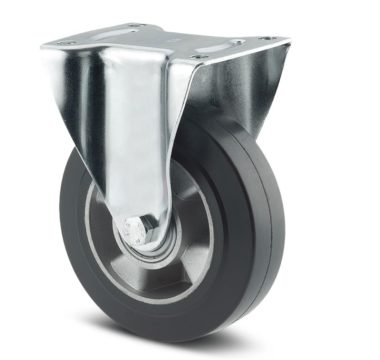
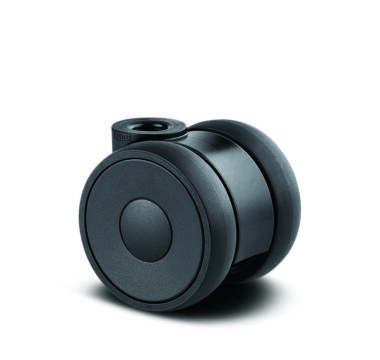
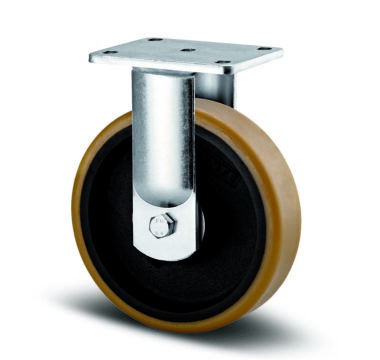
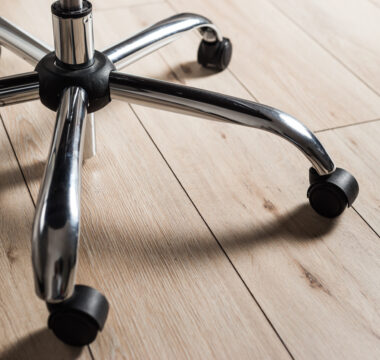
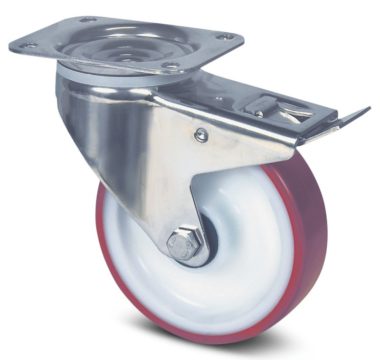
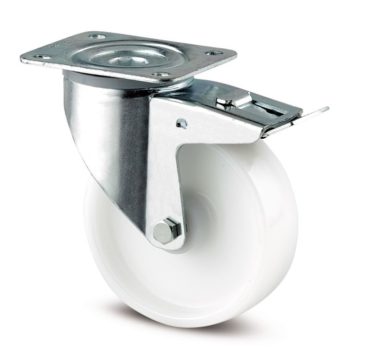
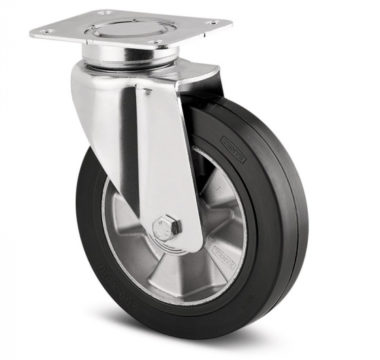
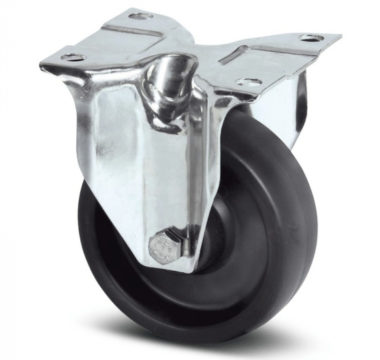
Screw-on castors are often used for furniture and trolleys which sit close to the ground – these are attached using a flat plate. U-bracket castors, on the other hand, accommodate items which need to stay a little higher, such as office chairs.
>Other types of castors may be fitted with a bolt hole or stem, which protrudes directly from the top of the wheel. This type of castor is favoured in factories and warehouses, since the vertical connector can be attached directly to machinery.
The type of wheel bearing you opt for may also alter the way it should be fitted, as will the wheel and tread materials.
Steps to consider
Once you have identified the type of castor you’re fitting, it’s time to get down to business. There are some variations in fixing methods – so you should always check the instructions that come with your castor wheels.
Need to confirm that Tente products come with instructions of some kind. If not, replace with ‘check in with the manufacturer for specifics’ or similar.
The following steps should always be considered:
– prepping the workspace
– marking out
– creating pilot holes
– checking manoeuvrability
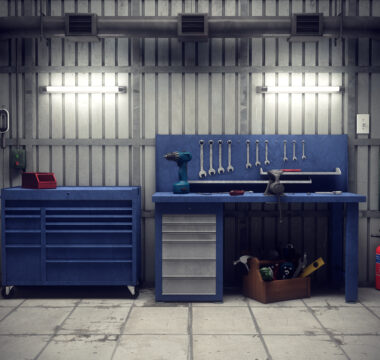
Prepping the workspace
First, you’ll need to prepare the workspace, including the item you wish to attach the castor wheel to. This might involve turning the furniture over, positioning it upside down for easy access to the surface in question.
It is important to ensure the furniture is rigid enough to support the load. With castor wheels, the load is sometimes more concentrated than we might expect since the entire weight of the structure must rest on a few thin plates.
The strength of wooden items can be bolstered by ‘building up’ the corners with extra wood, if necessary. Attach wood to the inside corners of tall or flat-pack furniture using screws.
Marking out
The next step to install plate castors involves marking out the position of each castor plate, taking note of how the weight is distributed. It is a good idea to avoid positions too close to the table, trolley or machine.
Be sure to think about the alignment of your castor wheels, since they all need to point the same way for smooth movement. The easiest way to achieve alignment is to position castors in the same direction, running parallel to the furniture’s edge.
Once you are confident the positions are right, use a pencil, spirit-based felt pen or scriber to mark the position of each plate. Spirit-based pens work well with bare plastics, whereas scribers are often the best way to leave a marking on metal.
Ensure you carefully mark any points where you’ll need to add bolts, too, since these are pivotal.
Creating pilot holes
Pilot holes, also known as bolt holes, are the perforations you must drill in order to successfully bolt a castor plate to an item. This is also an important step to fit bolt castors, since the quality of a single pilot hole can determine how sturdy a bolt castor is.
Once you’re confident on the position of your castor, use a drill bit which is about half the diameter of the bolt, taking care to drill straight. Repeat for each bolt fixing, then assemble the newly mobile structure using strong-grade screws or bolts.
Checking manoeuvrability
Getting a perfect result first time is desirable, but it doesn’t always happen. The next step is to check your wheeled-up furniture’s movement to make sure it rolls smoothly without pulling to one side.
If there is a problem – for instance, if one castor doesn’t quite touch the ground – this can be rectified with packing shims or by adjusting the wheel position.
The key to achieving a flush and functional finish is selecting the right wheel for your project and understanding the technicalities of caster wheels.